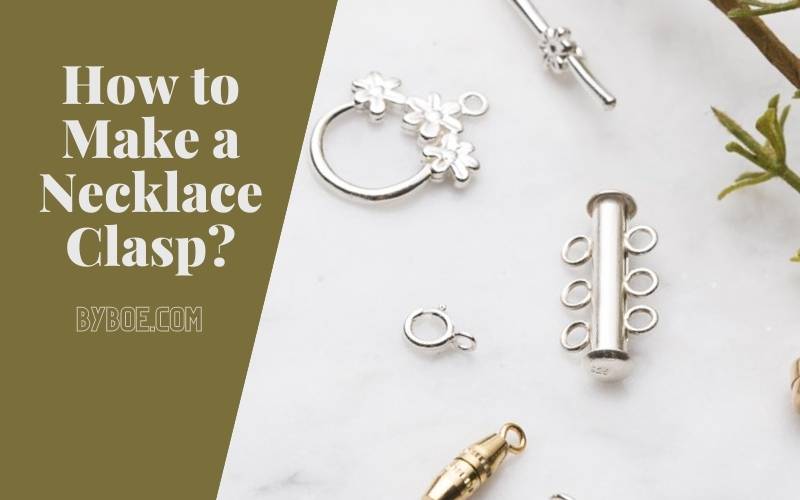
A necklace clasp is a fastener used to secure a necklace around someone’s neck. There are many different types of clasps, but all share the same primary purpose; to keep the necklace attached to the wearer’s neck. Clasps can be simple or complex, depending on their design.
Some clasps are made from metal, while others are made from plastic or other materials. There are many ways to make a necklace clasp. In this post, Byboe will show you How to Make a Necklace Clasp? And other tips.
Table of Contents
Jewelry Making Tools for Making Necklace Clasps
Before you start making your necklace clasp, here are some jewelry making tools:
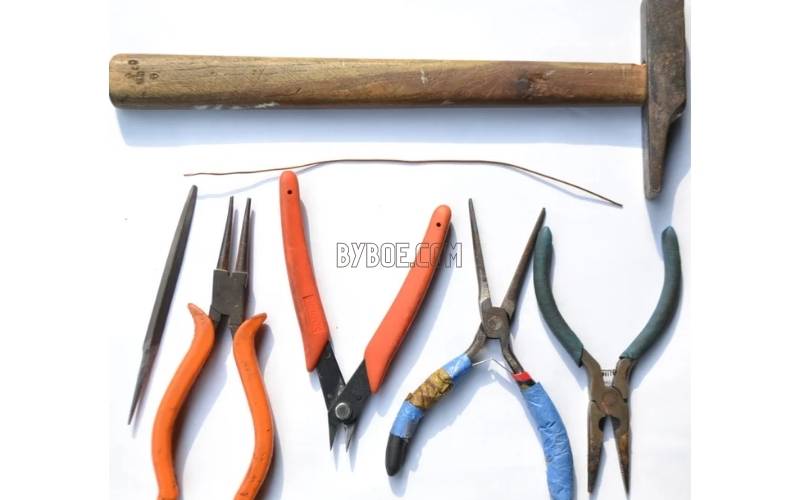
- 1mm wire (choose any precious metal wire you prefer)
- Wire cutters
- Round nose pliers
- Longnose pliers
- Do not forget to save
- Jobbing the hammer
How to Make a Necklace Clasp: Step by Step
Make the first part (a simple hook) of the necklace clasp.
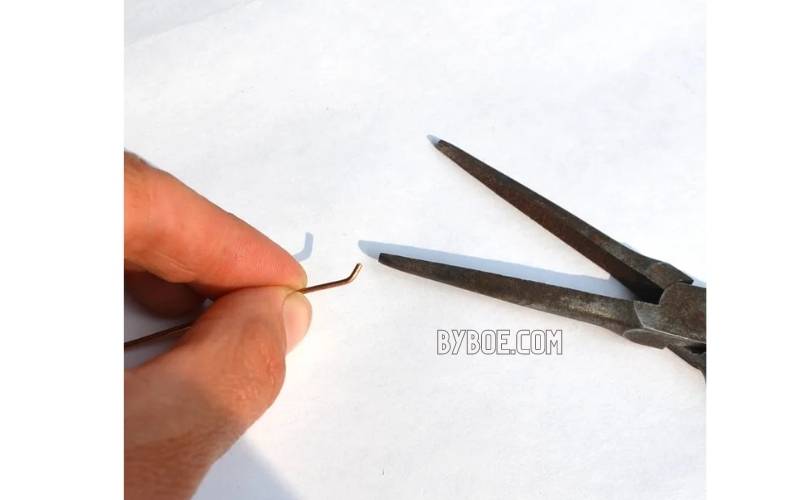
Step 1: Cut a length of approximately 5 cm of wire with your wire cutters. Then, file the rough ends of the wire.
Step 2: Use your long nose pliers to bend the wire at about 2mm. Make sure it is at a 30-degree angle. Use your round nose pliers to shape the wire, forming a small hook clasp.
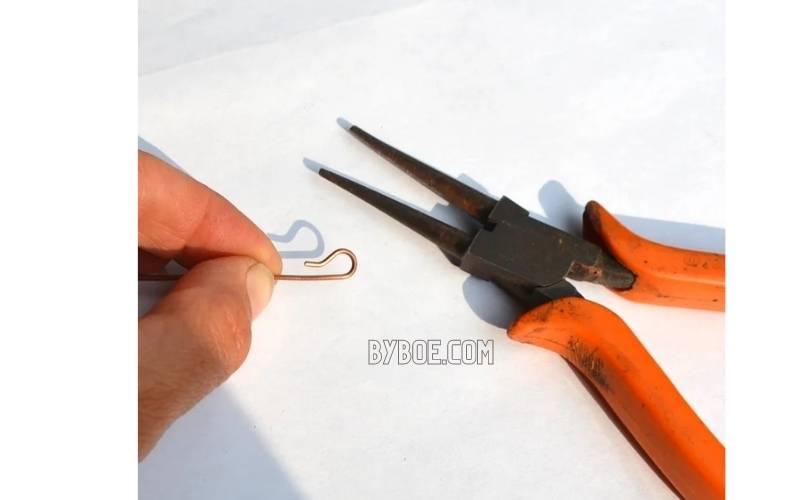
Step 3: Next, use a pair of long nose pliers to bend the wire wrapped at an angle of 90 degrees at the bottom end of the hook clasp you made earlier.
Next, use your round nose pliers to make a smaller loop. Once you are done, wrap a portion of the wire wrapped around the hook’s bottom.
This will tighten the noose and secure it. You can also finish this section by covering it with wire wrap. This is used to attach the clasp to the necklaces. This clasp part should look similar to a hook, with one end having a small loop.
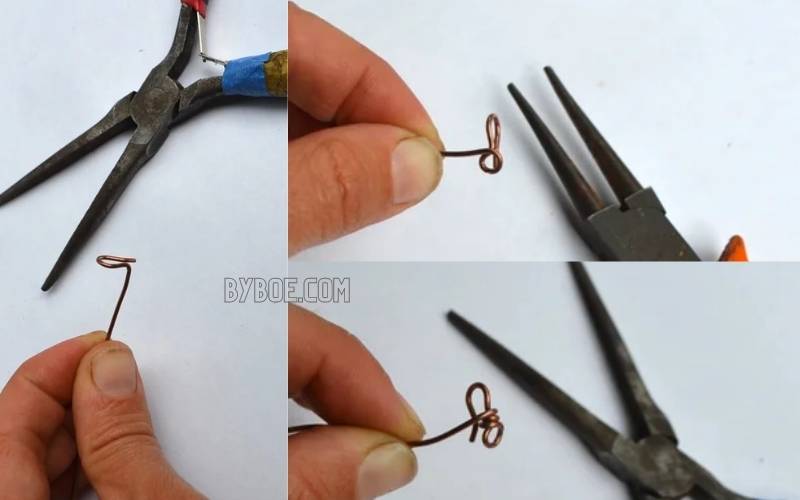
Step 4: Use your wire cutters to remove the excess wire wrapped from the hook. To prevent sharp edges on the clasp, you can file the extra wire wrapped from the simple hook you just cut. Next, squeeze the ends of the hook together with your long nose pliers.
Step 5: Keep the small loop in place. Lay the clasp down and hammer on the edge of your hook. You can repeat the process on the other side (on the longer, rounded end).
You will have a finished look that is more polished by adding texture to the hook. This will also improve the durability of your DIY necklace clasp by hardening it.

Making the Second Part of the Necklace Clasp
Step 1: Use your wire cutters to cut another piece of metal (roughly 5cm) and then file the rough ends. It can be bent at 90 degrees using your long nose pliers, 2mm.
Step 2: Make a small loop with the other end of the wire wrapped by twisting it at 90 degrees using your round nose pliers. After creating the small loop, wrap the remaining wire around the center of the two loops to create a rough 8-shaped shape.
Step 3: Next, remove any wire wrapped remaining and file the edges to finish the DIY necklace clasp. Next, use your long nose pliers to squeeze the middle. To conclude, gently hammer the edges with your long nose pliers.
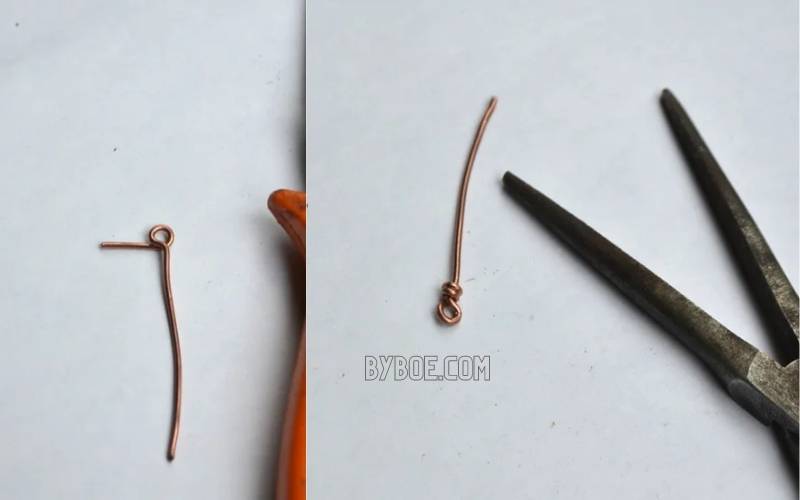
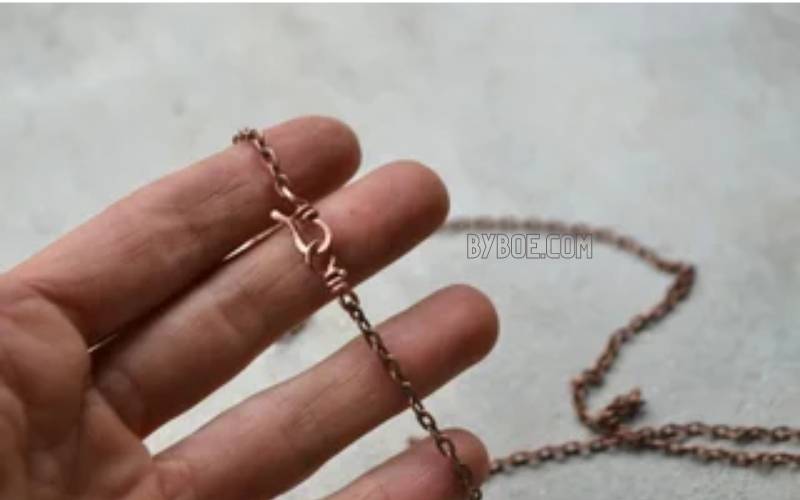
Step 4: You are done with your DIY necklace clasp! It’s up to you whether you want it attached directly to a chain or between two jump rings.
Do you know how to open a necklace clasp? If not yet, let’s check out our guide right now:
How to Make a Necklace Clasp? Conclusion
These are some ways to make a necklace clasp; we hope that our guide was helpful for you; follow these steps to make a nice necklace clasp for your jewelry. Don’t hesitate to comment on this blog if you have more ways to make it.

