A cord necklace makes a great accent to any outfit. You can wear them with formal clothes or an athletic workout outfit. When you want to change up your style, there are times when the easiest thing is to buy one at a department store.
The problem with that solution is that they are often costly, and you don’t have much choice in styles or color. If you know How to Make a Cord Necklace Without Clasp, then you can choose just about any material you would like to use. Keep reading this article, we will show you some ways to make a necklace without a clasp.
Table of Contents
How to Make a Cord Necklace Without Clasp?
Simple Cord Necklace
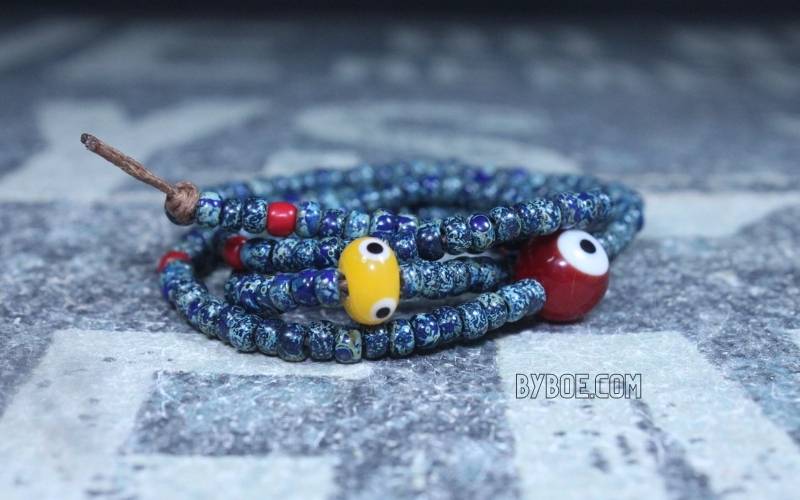
Be careful not to get lost in the maze of ways to close your cord necklace. Instead, tie the ends of your necklace after bringing it to the correct length. This is particularly useful if you’re making friendship bracelets or necklaces and have woven your necklace.
Place the necklace on the recipient’s neck and tie a square knot. You will want the necklace to slide off your recipient’s head if you plan on it being removable, so make sure to measure before you tie.
Tieing a Slip Knot
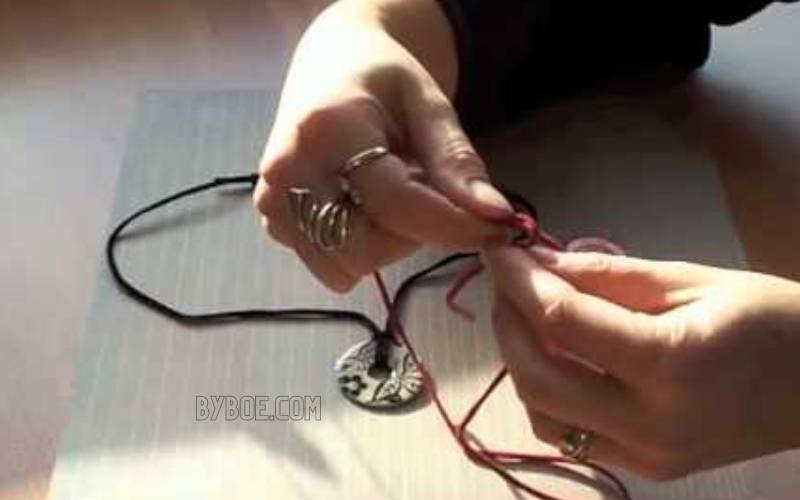
A slip knot or sliding tie can be used to end the necklace. You can adjust the length of your necklace without using a clasp. This works best with cords made of leather or satin.
- Measure the length of your necklace. Cut the cord to double or triple the length. You can thread your beads or weave your design.
- Next, loop the cord in a circle. You will need to take the cord from the top and fold it in half, so it bends backward onto itself. This will give you three cords. This will be your work cord.
- Your working cord should be looped around the back and placed underneath the other cords.
- Continue this process by wrapping the working cord around all of the cords. It is important to move away from the bends in the cords, not towards them. It is also important to wrap two cords, not one.
- You can repeat the process at least twice more.
- Slide the end through the wraps, and then exit the cord at the original bend that you made when you laid out the cords. Pull the stops together to tighten them.
- Flip the piece over to create your second slip knot.
- Cut your cord at the ends of the knots. To adjust the length of your necklace, bracelet, or another piece of jewelry, you can slide the knots open/close.
A Necklace That Can Be Worn Indefinitely
- Begin by threading your beading nee with the cord of your choice. FireLine is more potent than a regular thread and will last longer.
- Place a piece of masking tape at the end to prevent beads from sliding off your thread. You can also use tools like a Bead Bug, but it is unnecessary.
- Attach your beads to the needle. You can mix and match beads to create various designs, or you can use the same type of beads for a muted look.
- Fill your thread with beads. Typically, you want to aim for a length of about 30 inches.
- When your necklace has reached the desired length, thread it and thread through the first bead you have strung onto it. This bead will now have the thread or cord on either side.
- Pull the ends of the necklace up to tighten them until they are as snug and secure as possible.
- Now, it’s time for you to tie your knot. Tie a double-half hitch knot on either side of the center bead. Make a single half-hitch knot by looping the beaded strong, and then bring the tail end to the back of your loop.
- Continue to climb through the loop. To make a double half hitch knot, repeat the process a second time.
- To secure your necklace, make sure to repeat the knot on each side of the bead.
- Place a small amount of jewelry glue on each knot to secure it. Let it dry.
- Feed the thread through multiple beads on either side of your center bead. Finally, trim the line.
Make an Endless Knotted Necklace
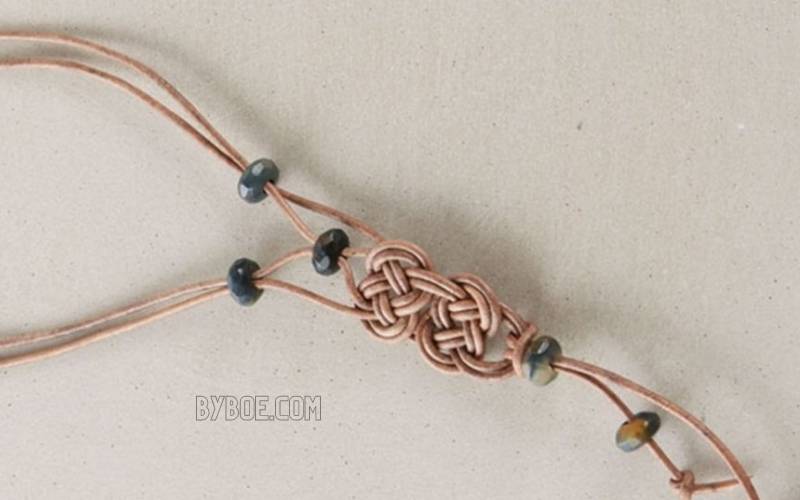
The above process can be repeated with your cord and beads, but you can add knots between each one to create a truly unique design. Begin by choosing your beads and a complementary or contrasting cord.
To ensure the beads don’t slip through the endless necklace when you tie the cord, check the holes. If they do, you’ll need to use a larger cord or double the knots.
- Once you have all your supplies, you can begin by making an overhand tie in your cord about 6-8 inches from the end. This will give you a long tail for later.
- Make a loop using the tail end of your cord to tie an overhand knot. The loop will be closed by slipping the cord end or string through it. To secure the knot, pull it tightly.
- Once you have secured your first knot, slide on one of your beads and tie it to your first knot.
- Then, continue with the overhand knot process, but tie a knot on the opposite side of the bead. You can secure the knot against the bead weaving by not tightening the knot too much.
- Instead, insert a corsage clip into the knot after tying it. Push the knot up next to the bead weaving. Before removing the corsage clip, tighten the knot. After removing the pin, tighten the knot.
- Continue to place the beads and then knot each one until you reach your desired length. To complete your necklace, save one bead.
- Slide on the last bead to connect the ends of your necklace. To thread the beads in both directions, pull your original tail through it.
- Take the cord and tie an overhand knot between the bead’s adjacent bead. You can use a corsage clip to tighten the knots to the bead.
- You can repeat the knot-tying process with an overhand knot on the opposite side of your final beads.
- Apply a small amount of clear jewelry glue to each knot you have made along the side of your final beads. Let the glue dry. Hypo-cement is also an option.
- To hide the ends, thread the necklace’s tails through the bead adjacent to your last bead. You can trim the ends as close as possible to the bead with a pair of scissors, so they are hidden.
- Take pride in your new necklace.
Crimp Tubes
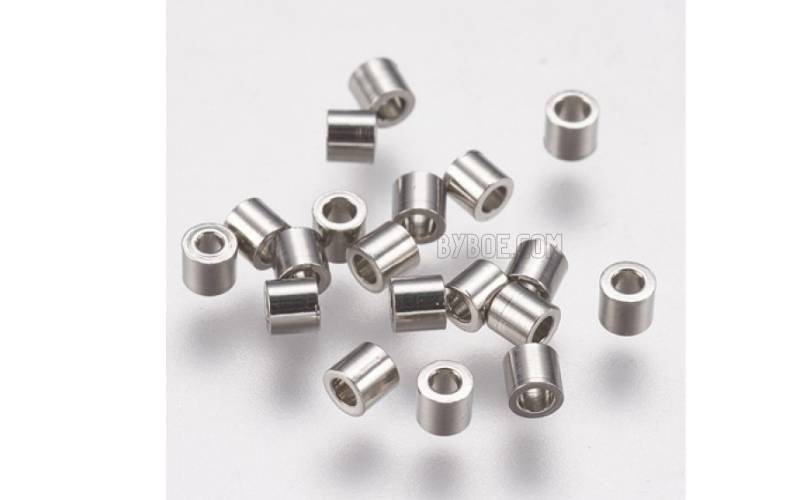
A crimp tube can be used to secure your necklace ends when you make it. Instead of tying a knot, thread the cord through a Crimp Tube.
You will need to feed both ends of your cord/beading wire through one crimp bead cover
. Thread them in opposite directions.
Adjust your necklace to the length you prefer, then use a crimping instrument to crimp tube.
To hide the tube after you’ve crimped it, you can cover it with a crimp bead cover.
How To Make A Beaded Necklace Without A Clasp
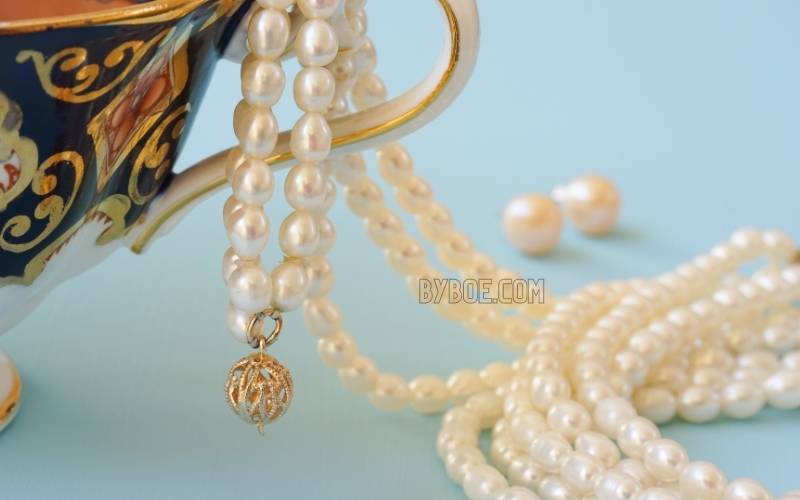
A beaded necklace or endless necklace can be made without a clasp. The string must be long enough that it fits over your head.
It would help if you didn’t make a clasp-less necklace too long. A longer necklace gives you more options and creates more jewelry pieces. Let’s look at making a beaded necklace that doesn’t require a clasp.
Thread A Needle Onto Your String
To create a beaded necklace, you must first thread a needle onto the string. Some threads are designed explicitly for beading. FireLine is one example. This project will require a strong thread.
Make a Stopper on the Opposite Side of Your String
A stopper is a piece of tape that you attach to the end of your string to prevent beads from falling off. This can be done with a bead-stopper or a portion of masking tape.
Feed Your Beads Onto Your String
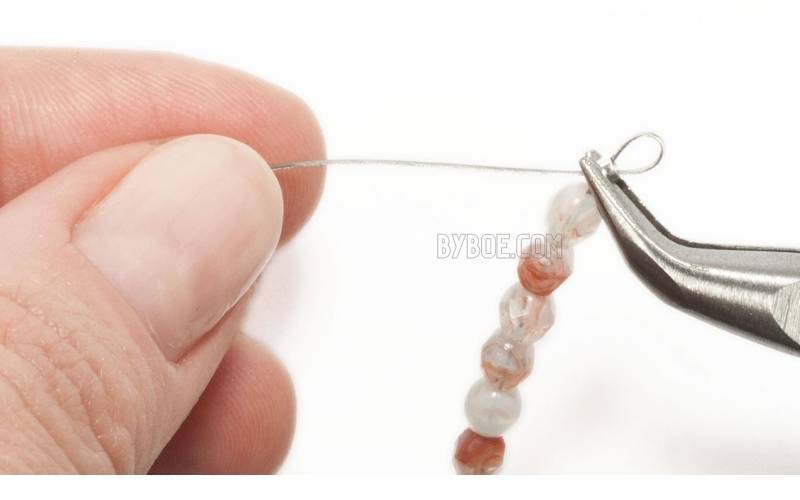
Once you have your stopper and needle in place, it is time to start stringing your beads. You can choose the beads that you prefer.
Either store-bought beads or custom-made beads are acceptable. You can use all the beads or make your own. These projects can be used to sort through random beads boxes. This step is where you can get creative.
Thread Your Needle Through The First Bead
Once your beads have been placed and your necklace is the right length, you can connect it.
Thread your needle through the first bead to connect the ends of the project. To tighten the beaded necklace, pull the strings ends to thread the needle. Your necklace’s center bead is the one you have placed first.
Tie A Knot On Each Side Of The Center Bead
Pull your thread ends tight to have a string coming out of the center bead. Attach a knot to both ends of the center bead.
You can use many different knots, but the half-hitch is the most common. This knot should be completed twice on each side.
Apply Jewelry Glue To Each Knot
You can glue jewelry glue to the knots on either side of your center beads to encourage stability.
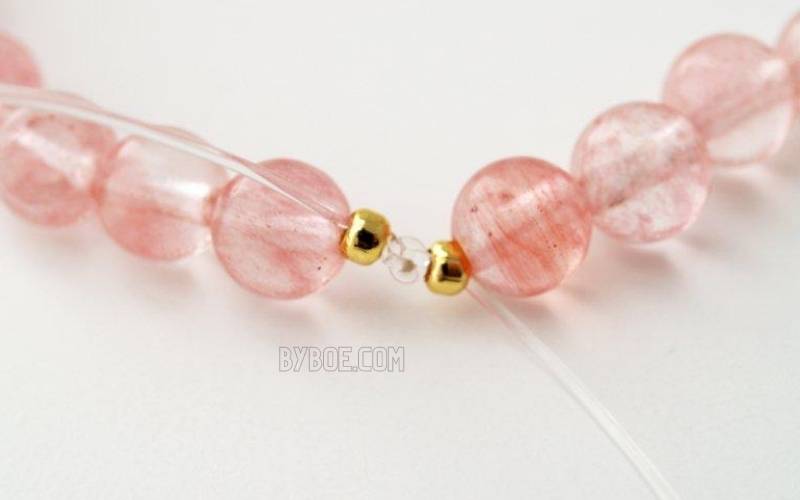
Feed Loose Ends Through Beads
You will see the extra string at each end of your knots after you have placed them. These ends can be threaded through the next beads in your sequence. To hide them, trim the spikes with your crafting scissors.
if you want to make a beaded necklace with a clasp, let’s check out our guide right now:
What String Is Best For Beaded Necklaces?
You have many options when it comes to making beaded necklaces. Consider the expected weight of the string, the type of beads used, how flexible the chain needs to be, and the length of the necklace.

One of these materials can be used to make string for necklace-making:
- Nylon
- Silk
- Silamide
- Coated Wire (beading wire)
- Leather cord
- Monofilament
- Polyethylene
- Hemp
- Kevlar
There are many materials available, as you can see. Which material is best for making beaded necklaces, then? The most popular beading materials are Nylon and polyethylene. Both have remarkable strength and have been lightly waxed to prevent twisting and knotting.
What Are The Different Tools And Materials In Making A Beaded Necklace?
You will need to gather all the necessary supplies and tools before you begin the process of making your clasp-less beaded necktie.
Already, we discussed the need for a bead blocker, masking tape, and a needle. You will also need the following materials for your project:
- A variety of beads
- Scissors
- Tape measure
- Jewel glue
- Pliers
- Thread
- Crimping tool +/-
Depending on the materials your beads are made from and the thread on which they are being strung, you may need a crimping instrument and pliers. These tools are handy when working with beading wire to make your necklace.
How To Make A Cord Necklace Without A Clasp? Conclusion
In conclusion, to make a cord necklace without a clasp, all you need is some cord and a way to tie it together. You can use a simple or more complicated knot like the surgeon’s knot.
The type of knot is really up to you. You can use anything but the thickest cotton cord will work fine as far as materials go. Byboe hopes that our guide was helpful for you.

